 Linda Chen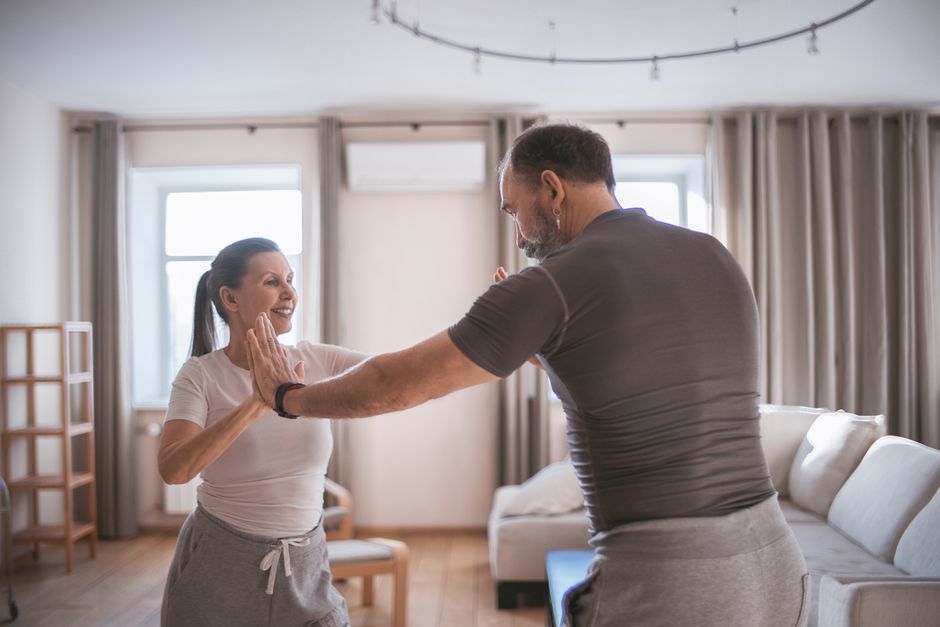
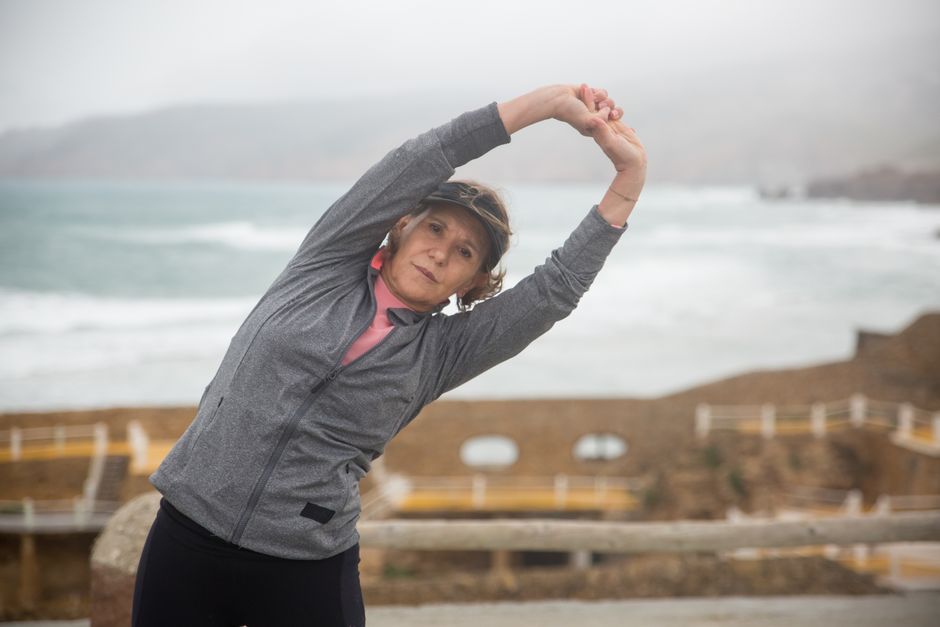
Most people don’t start thinking seriously about strength training until something goes wrong. A stumble on the porch steps. A moment of grabbing the wall to steady themselves. A doctor’s appointment where the words “bone density” or “fall risk” come up for the first time. If that sounds familiar, you’re not behind. You’re exactly where a lot of people are when they first walk into my office.
Here’s what I tell them: you don’t need a gym membership, a set of dumbbells, or anything you can buy on Amazon to start building real, functional strength. Your own body weight, a sturdy chair nearby for reassurance, and about twenty minutes of floor space is genuinely enough to make a meaningful difference, especially if you’re starting from scratch or coming back after a long time away from exercise.
What I want to do here is walk you through a set of standing exercises that work for adults over 60, explain why each one matters in practical terms (not vague fitness-speak), and address the questions I hear most often before you have to ask them.
Why Standing Exercises Specifically?
You might be wondering why we’re staying on our feet instead of doing seated or floor-based work. It’s a fair question, and the answer is more specific than “standing is better.”
When you exercise while standing, your body has to manage balance continuously, not just during the obvious balance moves. Your ankles, your hip stabilizers, the small muscles along your spine, they’re all working together just to keep you upright. That’s exactly the kind of integrated, real-world demand your nervous system needs to stay sharp. A 2020 review in the Journal of Aging and Physical Activity found that exercise programs incorporating standing, weight-bearing movement improved balance outcomes significantly more than seated-only programs in adults over 65.
Seated exercise has real value. Particularly if you’re managing a condition that affects standing tolerance. But if you can stand safely, even with one hand resting on a chair or counter, standing movements train the physical skills that prevent falls better than anything you can do sitting down.
One more thing: standing exercises don’t have to be hard on your joints. Done with good alignment and appropriate range of motion, they’re often easier on knees and hips than people expect.
The Exercises, Done Right
Let me take you through seven moves I use regularly with clients. None of them require equipment. All of them have real, specific benefits worth understanding.
Chair-Assisted Heel Raises
Stand behind a chair with both hands resting lightly on the back, not gripping it for dear life. Rise up onto your toes, hold for a count of two, lower slowly. That’s one rep. Aim for two sets of 12 to 15.
The calf muscles are sometimes called your “second heart” because they help pump blood back up from your legs. After 60, calf strength also becomes a direct predictor of ankle stability. Weak calves are a quiet contributor to falls that almost never gets discussed.
Sit-to-Stand (Without Using Your Arms)
This one is deceptively hard and deceptively important. Sit toward the front edge of a sturdy chair. Cross your arms over your chest. Lean forward slightly from your hips, then push through your heels to stand. Lower yourself back down with control.
If you can’t do this without your arms yet, that’s fine. Use them. The goal over time is to need them less. A 2018 study in PLOS ONE found that the ability to sit and stand from the floor without using hands correlated strongly with mortality risk in adults over 50. The chair version tests very similar functional patterns. Three sets of eight to ten is a good target. The descent matters as much as the ascent, so don’t just drop into the chair.
Tandem Stance Hold
Put one foot directly in front of the other, heel to toe, like you’re standing on a balance beam. Hold for 30 seconds. Switch which foot is in front. Stand next to a wall or counter in case you need it. This one looks easy. Most of my new clients last about eight seconds the first time, and that’s okay.
Your inner ear, proprioceptive sensors in your feet and ankles, and your visual system all have to coordinate here. Practicing this regularly trains that coordination directly.
Marching in Place
Stand with feet hip-width apart. Lift one knee to roughly hip height, or as high as is comfortable, then lower it, then lift the other. Keep the movement controlled, not floppy. One minute is a reasonable start; work up to two or three.
This builds hip flexor strength, which is more important than most people realize. Weak hip flexors mean shorter strides, and short shuffling steps are a significant fall risk factor. High-knee marching also requires you to balance on one leg repeatedly, which is where most of the real training benefit comes from.
Wall Push-Ups
Stand facing a wall, arms-length away. Place your palms flat on the wall at shoulder height, roughly shoulder-width apart. Bend your elbows to bring your chest toward the wall, then push back. Keep your body in a straight line from heels to head.
Upper body strength is not just about arms. The ability to catch yourself during a stumble, to push up from a surface, to carry groceries, all of it depends on chest, shoulder, and arm strength that erodes faster than most people expect after 60. Wall push-ups are genuinely underestimated. Two sets of 10 to 15.
Lateral Leg Raises
Stand behind a chair, feet together. Keeping your body upright and your core gently engaged, lift one leg out to the side, about 12 to 18 inches. Lower with control. Do 10 to 12 repetitions per side.
The hip abductors, the muscles that do this movement, are central to sideways stability. When someone’s knee buckles inward while walking or they lose balance stepping off a curb, weak hip abductors are often part of the picture. This is one of the most important exercises on this list for fall prevention, and it’s almost never mentioned in the senior exercise content I see online.
Standing Calf-to-Heel Rocks
Stand behind a chair. Slowly shift your weight forward onto the balls of your feet, like the start of a heel raise, then slowly rock back onto your heels, lifting your toes off the floor. Go back and forth in a slow, controlled rhythm for 30 to 60 seconds.
This trains your ankle’s range of motion in both directions, which is critical for absorbing the small shifts in balance that happen dozens of times a day when you walk, turn, and step over things. Most balance work focuses on static holding, but dynamic ankle control is where the real fall prevention happens in daily life.
How to Put This Together Without Overdoing It
Single BEST Exercise to Improve BALANCE in Seniors · Tim Fraticelli - PTProgress on YouTube
Don’t try to do all seven in one go on day one. Pick three or four, do them on alternating days, and give your muscles 48 hours to recover between sessions. Two to three times a week is genuinely enough to make progress at this stage.
The biggest mistake I see is enthusiasm in week one followed by soreness and discouragement in week two. Muscle soreness the day after starting a new routine is normal. If you’re not sore at all, you may need to increase the challenge, more reps, slower tempo, less hand support. If you’re in significant pain during or after, that’s a different story, and it’s worth checking in with your doctor or a physical therapist before continuing.
One small but meaningful thing: do these exercises in bare feet or thin-soled shoes when you can. Thick cushioned soles reduce proprioceptive feedback from the floor, the sensory input your feet use to tell your brain where you are in space. I wore running shoes during my own balance training for months before a physical therapist pointed this out to me. Switched to bare feet, and my single-leg balance time improved noticeably within a few weeks.
When You’re Ready to Make It Harder
Progress isn’t always adding more. Sometimes it’s removing support. If you’re doing tandem stance while touching the wall, try it with just fingertips. Then with hands hovering near the wall but not touching. Then arms folded. Each tiny reduction in support is a genuine increase in balance challenge.
For the strength exercises, slowing down the lowering phase, what trainers call the “eccentric” portion, dramatically increases the training stimulus without adding any equipment. A three-second count down during sit-to-stand or heel raises is harder than moving at normal speed, and it’s where a lot of strength gains actually happen.
Start with what you can do today, not the version you’d like to be able to do in six months. The person who does three modest exercises consistently will get more benefit than the person who attempts a full routine twice and quits. I’ve watched that play out too many times to count.
Photo: Mikhail Nilov via Pexels
This article is for general informational purposes only and does not constitute medical or fitness advice. Consult your physician or a licensed physical therapist before starting a new exercise program, especially if you have existing health conditions.
Sources
- Mikhail Nilov
- Nutramax Cosequin Senior Dog Soft Chews (60ct)
- Nutramax Cosequin DS Joint Supplement for Dogs (132ct)
- standing is better. When
- in PLOS ONE found that the ability to sit and stand from the floor without usi
Disclosure: As an Amazon Associate, we earn a small commission from qualifying purchases at no extra cost to you. We only recommend products that genuinely support the topics covered in this article.
- Nutramax Cosequin Senior Dog Soft Chews (60ct) (~$32), Senior-specific Cosequin formula with added Omega-3s, designed for aging dogs with joint and immune health needs.
- Nutramax Cosequin DS Joint Supplement for Dogs (132ct) (~$36), The #1 veterinarian-recommended joint supplement brand, clinically studied for reducing joint pain in dogs.