 Dr. Patricia Williams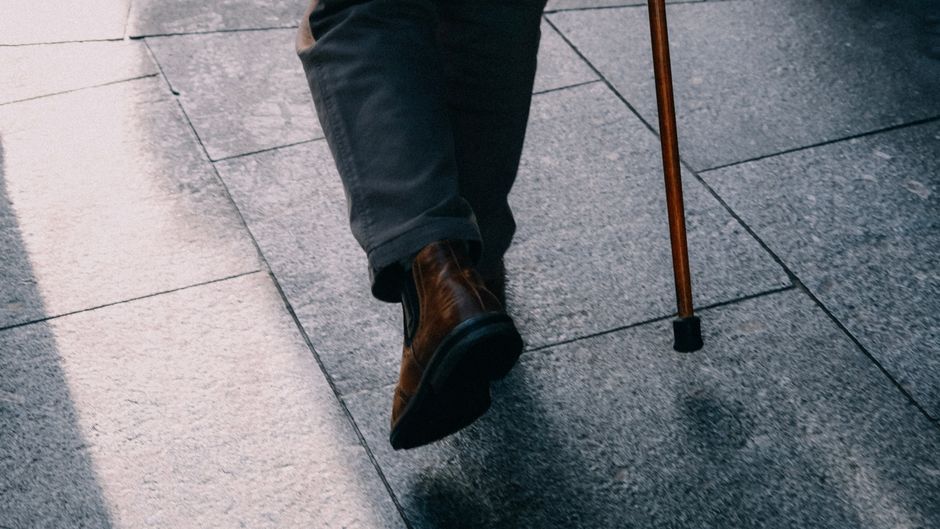
Every week, someone sits across from me and says some version of the same thing: “My surgeon cleared me at twelve weeks, so I figured I could just… get back to normal.” They’re not wrong to feel hopeful. But “cleared” and “ready for full activity” are two very different things, and that gap is where most post-hip-replacement setbacks happen.
I’ve seen patients who sailed through surgery, did their six weeks of standard PT, and then quietly lost everything they’d gained because nobody told them what comes next. I’ve also seen 72-year-olds who came in with a walker and left six months later doing step aerobics. The difference, almost every time, isn’t the surgery. It’s what they did in the months after the formal rehab ended.
So let’s talk about that.
What Your Surgeon Told You (And What They Didn’t Have Time to Explain)
Orthopedic surgeons are extraordinary at what they do. Reconstructing a joint that’s been grinding on itself for years is genuinely remarkable. But a follow-up appointment is fifteen minutes long, and there’s a lot of ground to cover. What most people don’t realize is that “you’re healing well” refers to the bone and soft tissue around the implant. It says almost nothing about whether your surrounding musculature has recovered, whether your balance systems have recalibrated, or whether you’re moving in compensation patterns that are silently loading your lower back and opposite knee.
Most total hip replacements today use either a posterior or anterior approach. This matters for your exercise program because it changes which movements carry risk early on. Posterior approach surgeries traditionally came with strict hip precautions: don’t bend past 90 degrees at the hip, don’t cross your legs, don’t rotate your foot inward. Anterior approach surgeries often come with fewer or no formal precautions, which sounds like good news but sometimes leads people to push too hard, too fast.
The first thing I tell anyone who’s fresh out of surgery: ask your surgeon specifically which approach was used, and ask them to write down your precautions. Bring that piece of paper to every PT session and any fitness professional you work with afterward. I cannot count how many times I’ve started working with someone who didn’t know which approach they’d had.
The First Three Months: Less Is More, Done Right
The immediate post-surgical period (roughly weeks one through twelve) is genuinely not the time to be ambitious. I know that’s frustrating to hear, especially if you were active before surgery. But the implant is still integrating with surrounding bone, and the soft tissue around the joint is healing from a significant trauma.
During this window, the most productive things you can do are also the least glamorous.
Ankle pumps, heel slides, quad sets, glute squeezes while lying on your back. A short walk with whatever assistive device you’ve been given. Sitting and standing from a chair at the appropriate height (most people need a raised toilet seat and a chair that keeps hips at or above 90 degrees, depending on approach). That’s it. That’s the program for the first couple of weeks.
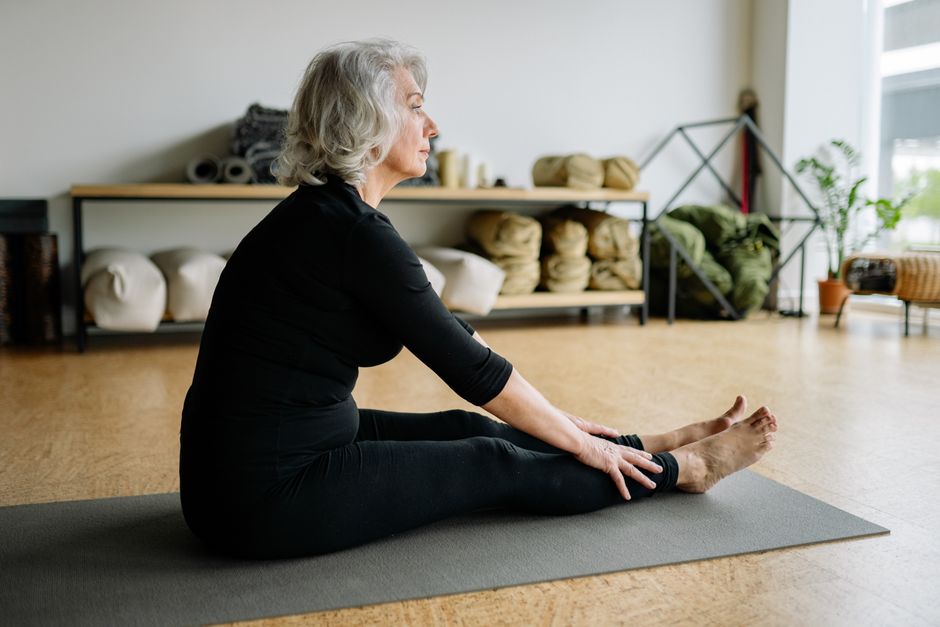
By weeks four through eight, most people are working with a physical therapist on standing hip exercises, light stationary cycling, and beginning to walk without an assistive device on even ground. The stationary bike is genuinely excellent at this stage. Low resistance, seat adjusted high enough that you’re not bending the hip past precaution limits, ten to fifteen minutes. It promotes circulation, begins rebuilding quad and glute endurance, and most people find it comfortable. The recumbent bike is an even better choice if the seat position on an upright bike feels uncertain.
One thing worth pushing back on: many people stop PT the moment insurance stops covering it, which is often around week six to eight. That’s usually too early. A few more visits, paid out of pocket, to establish a home program through months three to six, is money well spent. A single session with a good PT runs $100-200 depending on your area, and a couple of those to bridge you through the independent phase can prevent a setback that costs far more in time and frustration.
Months Three to Six: Building the Foundation That Actually Protects the Implant
The ONLY 3 Exercises You Need to Prevent FALLS After 65 · Will Harlow – Over-Fifties Specialist Physio on YouTube
| Phase | Timeline | Primary Focus | Key Exercises |
|---|---|---|---|
| Immediate Post-Op | Weeks 1-2 | Joint protection, basic mobility | Ankle pumps, heel slides, quad sets, glute squeezes, short walks with assistive device |
| Early Recovery | Weeks 4-8 | Weight-bearing, endurance building | Standing hip exercises, stationary cycling (10-15 min), walking without assistive device |
| Foundation Building | Months 3-6 | Biomechanics, stabilizer strength | Side-lying hip abduction, resistance band work, mini squats, step-ups (4-8 inch), single-leg balance |
| Return to Activity | Month 6+ | Full functional capacity | Progressive weight-bearing, cardiovascular training, sport-specific movement |
This is the phase that gets ignored most often, and it’s probably the most important phase of the entire recovery.
The hip replacement itself doesn’t wear out from activity. What causes long-term implant problems is poor biomechanics: people who walk with a persistent Trendelenburg gait (the hip dropping on the non-stance side), who carry uneven load because their glute medius never fully recovered, who rely on momentum rather than muscle to get up from chairs. These patterns stress both the implant and the joints above and below it.
The muscles to focus on during this phase, specifically, are the glute medius, the glute maximus, and the hip flexors. The glute medius, that flat fan-shaped muscle on the side of the hip, is almost always severely weakened after hip replacement. It’s the primary stabilizer of the pelvis during walking. If it’s weak, your whole lower body compensates. I’ve seen patients with chronic knee pain in the non-operated leg that resolved completely once the glute medius on the surgical side got strong again.
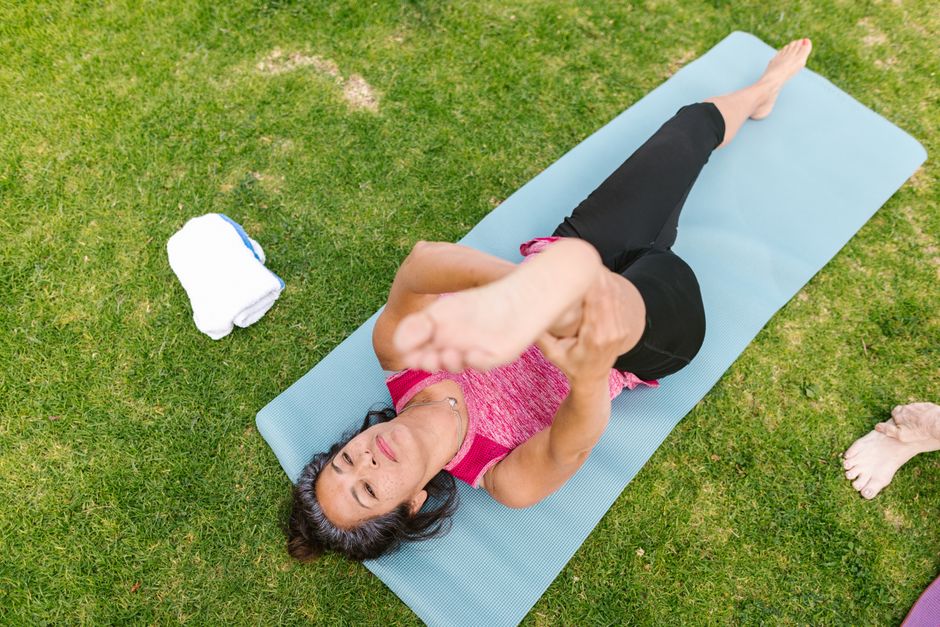
Exercises that work well here: side-lying hip abduction (done slowly, with the pelvis stable), standing hip abduction with a light resistance band, mini squats progressing to sit-to-stand repetitions, step-ups onto a four-inch step progressing to an eight-inch step, and single-leg balance work. For balance work specifically, start at a counter, hold lightly, and work toward fingertip contact, then no hands, then eyes closed. The eyes-closed piece is where most people are surprised by how much work they still have to do even months after surgery.
Walking is your main cardiovascular tool during this phase. Start with whatever distance is comfortable and add roughly ten percent per week. Flat surfaces first, then gentle inclines, then uneven terrain. Uneven terrain is important. Grass, gravel, slight slopes. These small perturbations train the stabilizers in a way that treadmills simply don’t.
Pool exercise, if you have access, is excellent in this phase. The buoyancy reduces joint load while still allowing you to work against resistance. Water walking, side steps, and gentle leg swings in chest-deep water can significantly accelerate strength and confidence. A heated pool (around 92 degrees Fahrenheit) is even better for people dealing with residual stiffness.
The Long Game: What Safe Exercise Actually Looks Like at Six Months and Beyond
At six months, assuming recovery has been uncomplicated, most people can return to a reasonably full exercise life. The question is which activities are actually appropriate.
Low-impact activities with strong evidence for safety after hip replacement: walking, cycling (road and stationary), swimming, water aerobics, low-impact dance classes, golf (with some modification in the early months), doubles tennis, resistance training with proper technique, yoga with appropriate modifications. These are well-supported by orthopedic literature and by what I’ve observed in practice.
Higher-impact activities where the research is less definitive: pickleball (this is the hot-button question I get constantly right now), hiking on challenging terrain, elliptical training, cross-country skiing. These aren’t categorically forbidden, but they carry more joint impact than the list above and warrant a specific conversation with your surgeon. Pickleball deserves its own mention because it’s exploded in popularity among adults over 60, and the lateral movement patterns and unpredictable stop-start load are genuinely different from walking or cycling. I don’t tell patients to avoid it forever. I tell them to wait until they have real single-leg stability, which many people underestimate how long that takes.
True high-impact activities: running, jumping, contact sports, singles tennis. Most orthopedic surgeons currently advise against these, not because the implant will immediately fail, but because cumulative impact loads accelerate wear on the bearing surfaces over years and decades. If you’re 67 and planning to have this hip for thirty years, those choices compound.
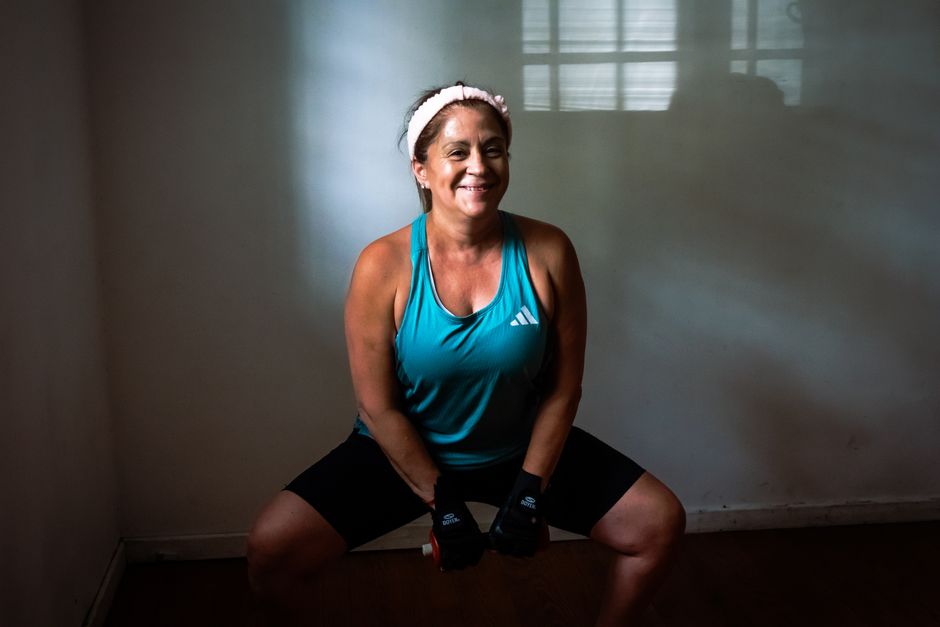
The honest truth about resistance training is that it’s probably the most underutilized tool in long-term hip replacement success. Strengthening the muscles around the hip, through progressive loading with weights or resistance bands, does more to protect the implant and maintain function than almost anything else. A 2023 study in the Journal of Arthroplasty following patients for two years post-surgery found that those who engaged in supervised progressive resistance training twice weekly maintained significantly better functional scores and patient-reported outcomes than those who relied on walking alone. The muscles matter. They’re the shock absorbers.
If you’ve never done formal strength training and don’t know where to start, a trainer who holds a certification specifically in older adult fitness (the ACSM-certified Exercise Physiologist or NASM-CES are solid credentials to look for) can put you on a safe, sensible program. Don’t let the unfamiliarity of weight rooms be the reason you miss out on this.
What to Watch For (And When to Call Someone)
Sources
- Mathias Reding
- is less definitive: pickleball (this is the hot-button question I get constantly
- in the Journal of Arthroplasty following patients for two years post-surgery fou
A certain amount of achiness after exercise is normal, especially in the early months. The benchmark I give patients: if discomfort during activity is above a 3 out of 10, scale back. If you’re sore the next morning but it resolves within a few hours, that’s typically fine. If soreness persists beyond 24 hours, you did too much.
Red flags that warrant a call to your surgeon, not a wait-and-see approach: sudden increase in pain at the hip joint itself (not muscle soreness, but deep joint pain), clicking or clunking that wasn’t there before, any sensation that the joint feels unstable or like it might give way, swelling or heat around the incision site, or any pop followed by increased pain. Dislocation after hip replacement is relatively rare but does happen, and it requires immediate medical attention. Don’t convince yourself it’s nothing if something feels genuinely wrong in the joint.
The longer I do this work, the more convinced I am that hip replacement patients are set up to do well in surgery and too often left to figure out the rest on their own. The surgery restores the joint. Everything that follows determines what you actually do with it. That part is on us, together.
Photo: Mathias Reding via Pexels
This article is for general informational purposes only and does not constitute medical or fitness advice. Consult your physician or a licensed physical therapist before starting a new exercise program, especially if you have existing health conditions.