 Helen Santos
Most people assume limited mobility means limited results. I’d like to respectfully disagree with that.
I’ve worked with adults in their 70s and 80s who couldn’t stand for more than two minutes when we first met, and within three to four months they were walking to their mailbox without gripping the door frame on the way out. Not because we found some secret protocol. Because we started where they actually were, not where a generic fitness chart assumed they’d be.
I’ll be honest: the fitness world does older adults with mobility restrictions a real disservice. Either the advice is so cautious it barely qualifies as exercise (“try some gentle stretching!”), or it assumes a baseline of function that a lot of people just don’t have. There’s almost nothing in between. That gap is what I want to fill here.
Why “Start Slow” Is Only Half the Advice You Need
Here’s the thing about starting slow: it doesn’t mean staying slow. And it definitely doesn’t mean avoiding any movement that challenges you.
The research on strength training in older adults is actually pretty striking. A landmark study published in the Journal of the American Medical Association followed adults in their late 70s and 80s through a progressive resistance program and found meaningful gains in muscle strength and walking speed. These weren’t athletes. Several were nursing home residents. The takeaway is that muscle responds to load at any age, even in people who haven’t exercised in decades.
What surprised me, though, was how often well-meaning caregivers and even some clinicians interpret “start slow” as “avoid anything that feels like effort.” That’s not protective. That’s actually harmful. Muscle loss accelerates with inactivity. Falls become more likely, not less. The goal should be finding the minimum effective dose of challenge, not minimizing challenge altogether.
So yes, start slow. But build. That’s the part that usually gets left out.
Chair-Based Exercises: More Serious Than They Sound
I used to cringe a little when patients handed me a printout of “chair exercises” from a well-meaning doctor’s office. Twelve pictures of someone doing tiny movements that looked more like fidgeting than fitness. I’ve completely reversed that opinion.
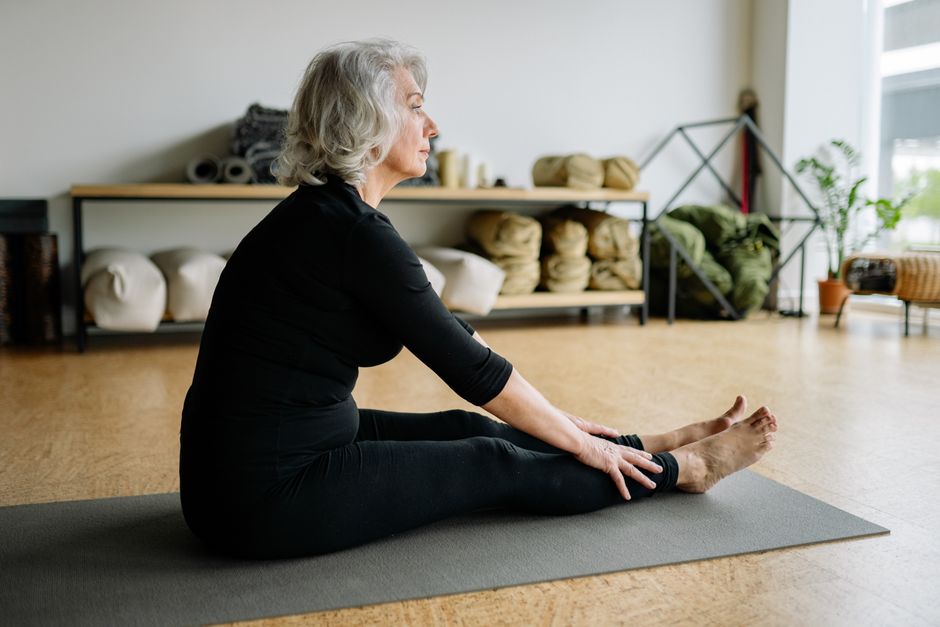
Done properly, chair-based training can build real leg strength, improve core stability, and maintain shoulder mobility. The chair isn’t a limitation. It’s a tool.
Seated leg press (using a resistance band)
Loop a resistance band around a sturdy chair leg and around your foot. Start with very light resistance. From a seated position with good posture, press your foot forward as if pushing a wall away, extending the knee fully. Hold for one second at full extension, return slowly. Two sets of ten on each leg is a reasonable starting point. The slow return is where a lot of people cheat themselves. That eccentric phase (the return) is where much of the strength-building happens.
Chair stand (the single most important exercise on this list)
This one is not flashy and it is absolutely worth doing every single day. From a seated position, scoot to the edge of the chair, feet flat on the floor hip-width apart. Cross your arms over your chest or place hands on thighs. Lean slightly forward from the hips and stand up. Sit back down slowly, controlling the descent so you don’t drop into the chair. That’s one rep.
If that’s too hard, start with your hands on the armrests. Progress to no hands over weeks or months. If ten reps gets easy, try a slightly lower surface (a firm couch cushion reduces the height by a few inches and meaningfully increases difficulty).
I make this the centerpiece of almost every limited-mobility program I design, because the ability to get out of a chair is one of the strongest predictors of independence and fall risk we have. A 2019 study in the European Journal of Preventive Cardiology used a sit-to-stand test as a mortality predictor. The results were sobering. It matters.
Seated torso rotation
Sit tall, arms crossed over chest or hands on shoulders. Rotate slowly to the right as far as comfortable, pause, rotate to the left. This is not about range of motion for its own sake. Spinal rotation is what allows you to check your blind spot while driving, reach something behind you, and recover your balance when you’re bumped sideways. People lose it quietly and pay for it later.
Standing Exercises With Support: The Bridge Most People Skip
Single BEST Exercise to Improve BALANCE in Seniors · Tim Fraticelli - PTProgress on YouTube
There’s a progression most programs miss entirely. Going from chair-based exercise directly to unsupported standing work is too big a jump for a lot of people. The middle ground is supported standing: using a kitchen counter, a sturdy chair back, or a wall as a light support point.
The goal here is not to grip for dear life. One or two fingers touching the surface for reassurance is ideal. You want your body doing the balance work while having a safety net nearby.
Wall-supported heel raises
Stand facing a wall, fingertips resting lightly on it. Rise onto your toes slowly (count two seconds up), hold for one second at the top, lower for three seconds. This builds the calf and ankle strength that’s absolutely central to fall prevention. People don’t trip and fall because their quads are weak. They fall because their ankle doesn’t respond fast enough when the ground shifts. Heel raises train exactly that.
Start with ten reps. When you can do three sets of fifteen without the wall feeling necessary, you’re ready to try one-handed, then fingertip-only.
Counter-supported single-leg stand
Both hands lightly on the counter. Shift weight slowly onto one foot and lift the other foot just an inch off the ground. Hold for ten seconds. Switch sides. This is the foundation of balance training. It sounds almost laughably easy. Try it with your eyes closed for two seconds and tell me how it goes.
One thing I’ve noticed: people with inner ear issues (very common in adults over 65) will find this disproportionately hard on certain days. That’s not a failure. It’s information. If balance feels dramatically worse than usual, it’s worth mentioning to a doctor.
Hip abduction with counter support
Same starting position. Shift weight to one leg, lift the other leg out to the side, hold briefly, return. This strengthens the hip abductors, the muscles on the outer hip that stabilize your pelvis when you walk. Weak hip abductors cause that characteristic “waddling” gait many older adults develop, which increases fall risk significantly. Five to eight reps per side to start.
What About Pain? The Question Everyone Has But Doesn’t Always Ask
I’ll be honest: this is the area where I’ve seen the most harm done, in both directions.
Some people push through pain that they shouldn’t, because they’ve been told “no pain, no gain” for so long it’s just background noise. Joint pain that’s sharp, sudden, or worsening with movement is a signal to stop and get it evaluated. That’s not being cautious. That’s being smart.
But the other direction is just as common and less discussed. A lot of people with arthritis, old injuries, or chronic conditions avoid exercise because they expect pain, or because mild discomfort makes them afraid they’re causing damage. The research here is actually pretty clear: for most forms of osteoarthritis, gentle progressive exercise reduces pain over time. Rest tends to make it worse. The discomfort of starting a movement program after a long period of inactivity is real, but it’s different from injury pain.
The rule I use with clients: if pain during exercise is a 3 or less on a 1-10 scale and resolves within an hour or two of finishing, you’re likely okay to continue. If it’s 4 or above, persists for more than a few hours, or is in a joint that’s been surgically repaired or currently inflamed, stop and check with your provider first. That’s not a medical diagnosis. It’s common sense formalized into a guideline you can actually use.
Breathing and Effort: The Overlooked Variable
Most of the clients I work with who have been sedentary for years have also developed the habit of holding their breath during any physical effort. It’s almost universal. And it spikes blood pressure in a way that’s genuinely problematic for anyone with cardiovascular concerns.
The fix is simple but requires attention: exhale on the effort. When you push up from the chair, breathe out. When you do the hard part of a heel raise, breathe out. In through the nose on the easy part, out through the mouth on the hard part. It takes about two weeks of conscious practice before it starts to feel natural.
This isn’t yoga philosophy. It’s basic vascular physiology. Your anesthesiologist cares about it. You should too.
There’s one thing I want to leave you with, and it’s this: the biggest obstacle most of my clients face isn’t physical. It’s the belief, often quietly held and rarely examined, that their body is too far gone to respond. Every single time, without exception, that belief has been wrong. The response is slower than it was at 35. The exercises look different. But the body adapts. It’s still in there, waiting for a reason to.
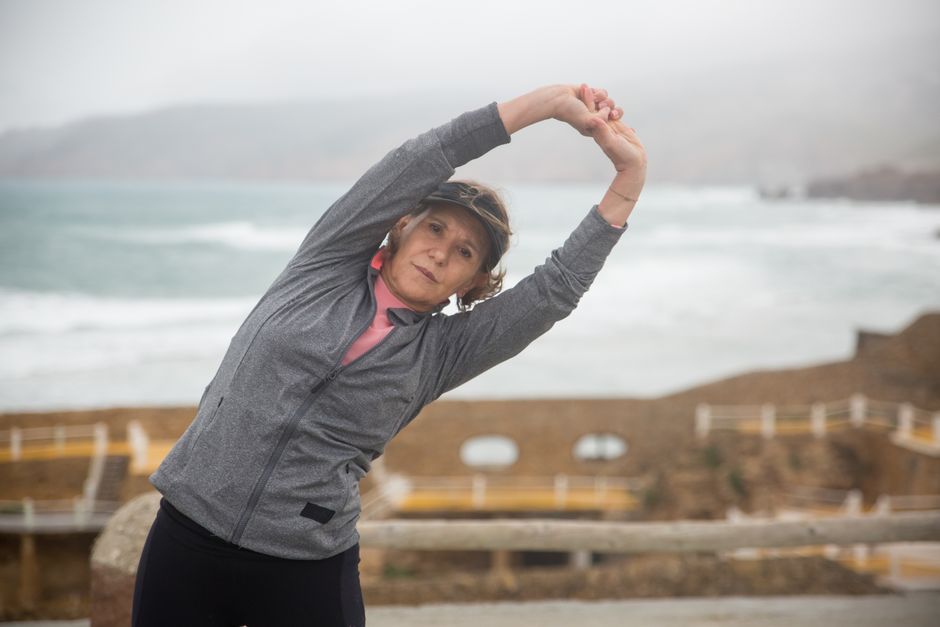
Photo: Abhishek Navlakha via Pexels
This article is for general informational purposes only and does not constitute medical or fitness advice. Consult your physician or a licensed physical therapist before starting a new exercise program, especially if you have existing health conditions.
Sources
- Abhishek Navlakha
- Nutramax Cosequin Senior Dog Soft Chews (60ct)
- Nutramax Cosequin DS Joint Supplement for Dogs (132ct)
- on strength training in older adults is actually pretty striking
- published in the Journal of the American Medical Association followed adults in
Disclosure: As an Amazon Associate, we earn a small commission from qualifying purchases at no extra cost to you. We only recommend products that genuinely support the topics covered in this article.
- Nutramax Cosequin Senior Dog Soft Chews (60ct) (~$32), Senior-specific Cosequin formula with added Omega-3s, designed for aging dogs with joint and immune health needs.
- Nutramax Cosequin DS Joint Supplement for Dogs (132ct) (~$36), The #1 veterinarian-recommended joint supplement brand, clinically studied for reducing joint pain in dogs.